Making cartonnage fabric boxes, cases, journals is SO fun! We can use scraps of fabric and have fun with them, making great gifts, but without need to sew! The final pieces are great handmade gifts and most of them can be made quickly so, sometimes when we need a last-minute gift, that can be a great idea.
Handmade gifts are such a lovely idea, people usually give more value to gifts that were made specially for them than for something that was just bought in the stores….at least I’m like that, and if you are a crafter, chances are that you are with me, right?
Ok, then, using commercial fabrics is a good idea, it’s simple, it’s quick, it’s done, and there are so many beautiful ones out there…. But what if we want to have even more fun and personalize the fabric or the final piece with some special details? It’s even better!! So, today, I’m gonna share with you a few ideas that my friend Lynn Hodge from Tangle threads by Lynn, have been making using her Scan N Cut machine. I hope you like it, and let’s keep this as just a start of one conversation that have no end….because the possibilities go far from our daily imagination….and as Lynn always like to say….there is no right or wrong here, there is our inner child having fun and making amazing arts!

Ok, then, let’s start from the beginning. Let’s say you made one fabric journal (or box), with a commercial fabric and later, decided that was simple and you could add one detail made out of iron-on vinyl that you can cut in your Scan N Cut machine (let me explain that: Lynn is an expert in this brand, but there are other brands that can work as well…..).
Here is the fabric journal Lynn made, using my DIY kit 101, and then after she applied the vinyl she cut in her Scan N Cut, look how a simple detail can make all difference:


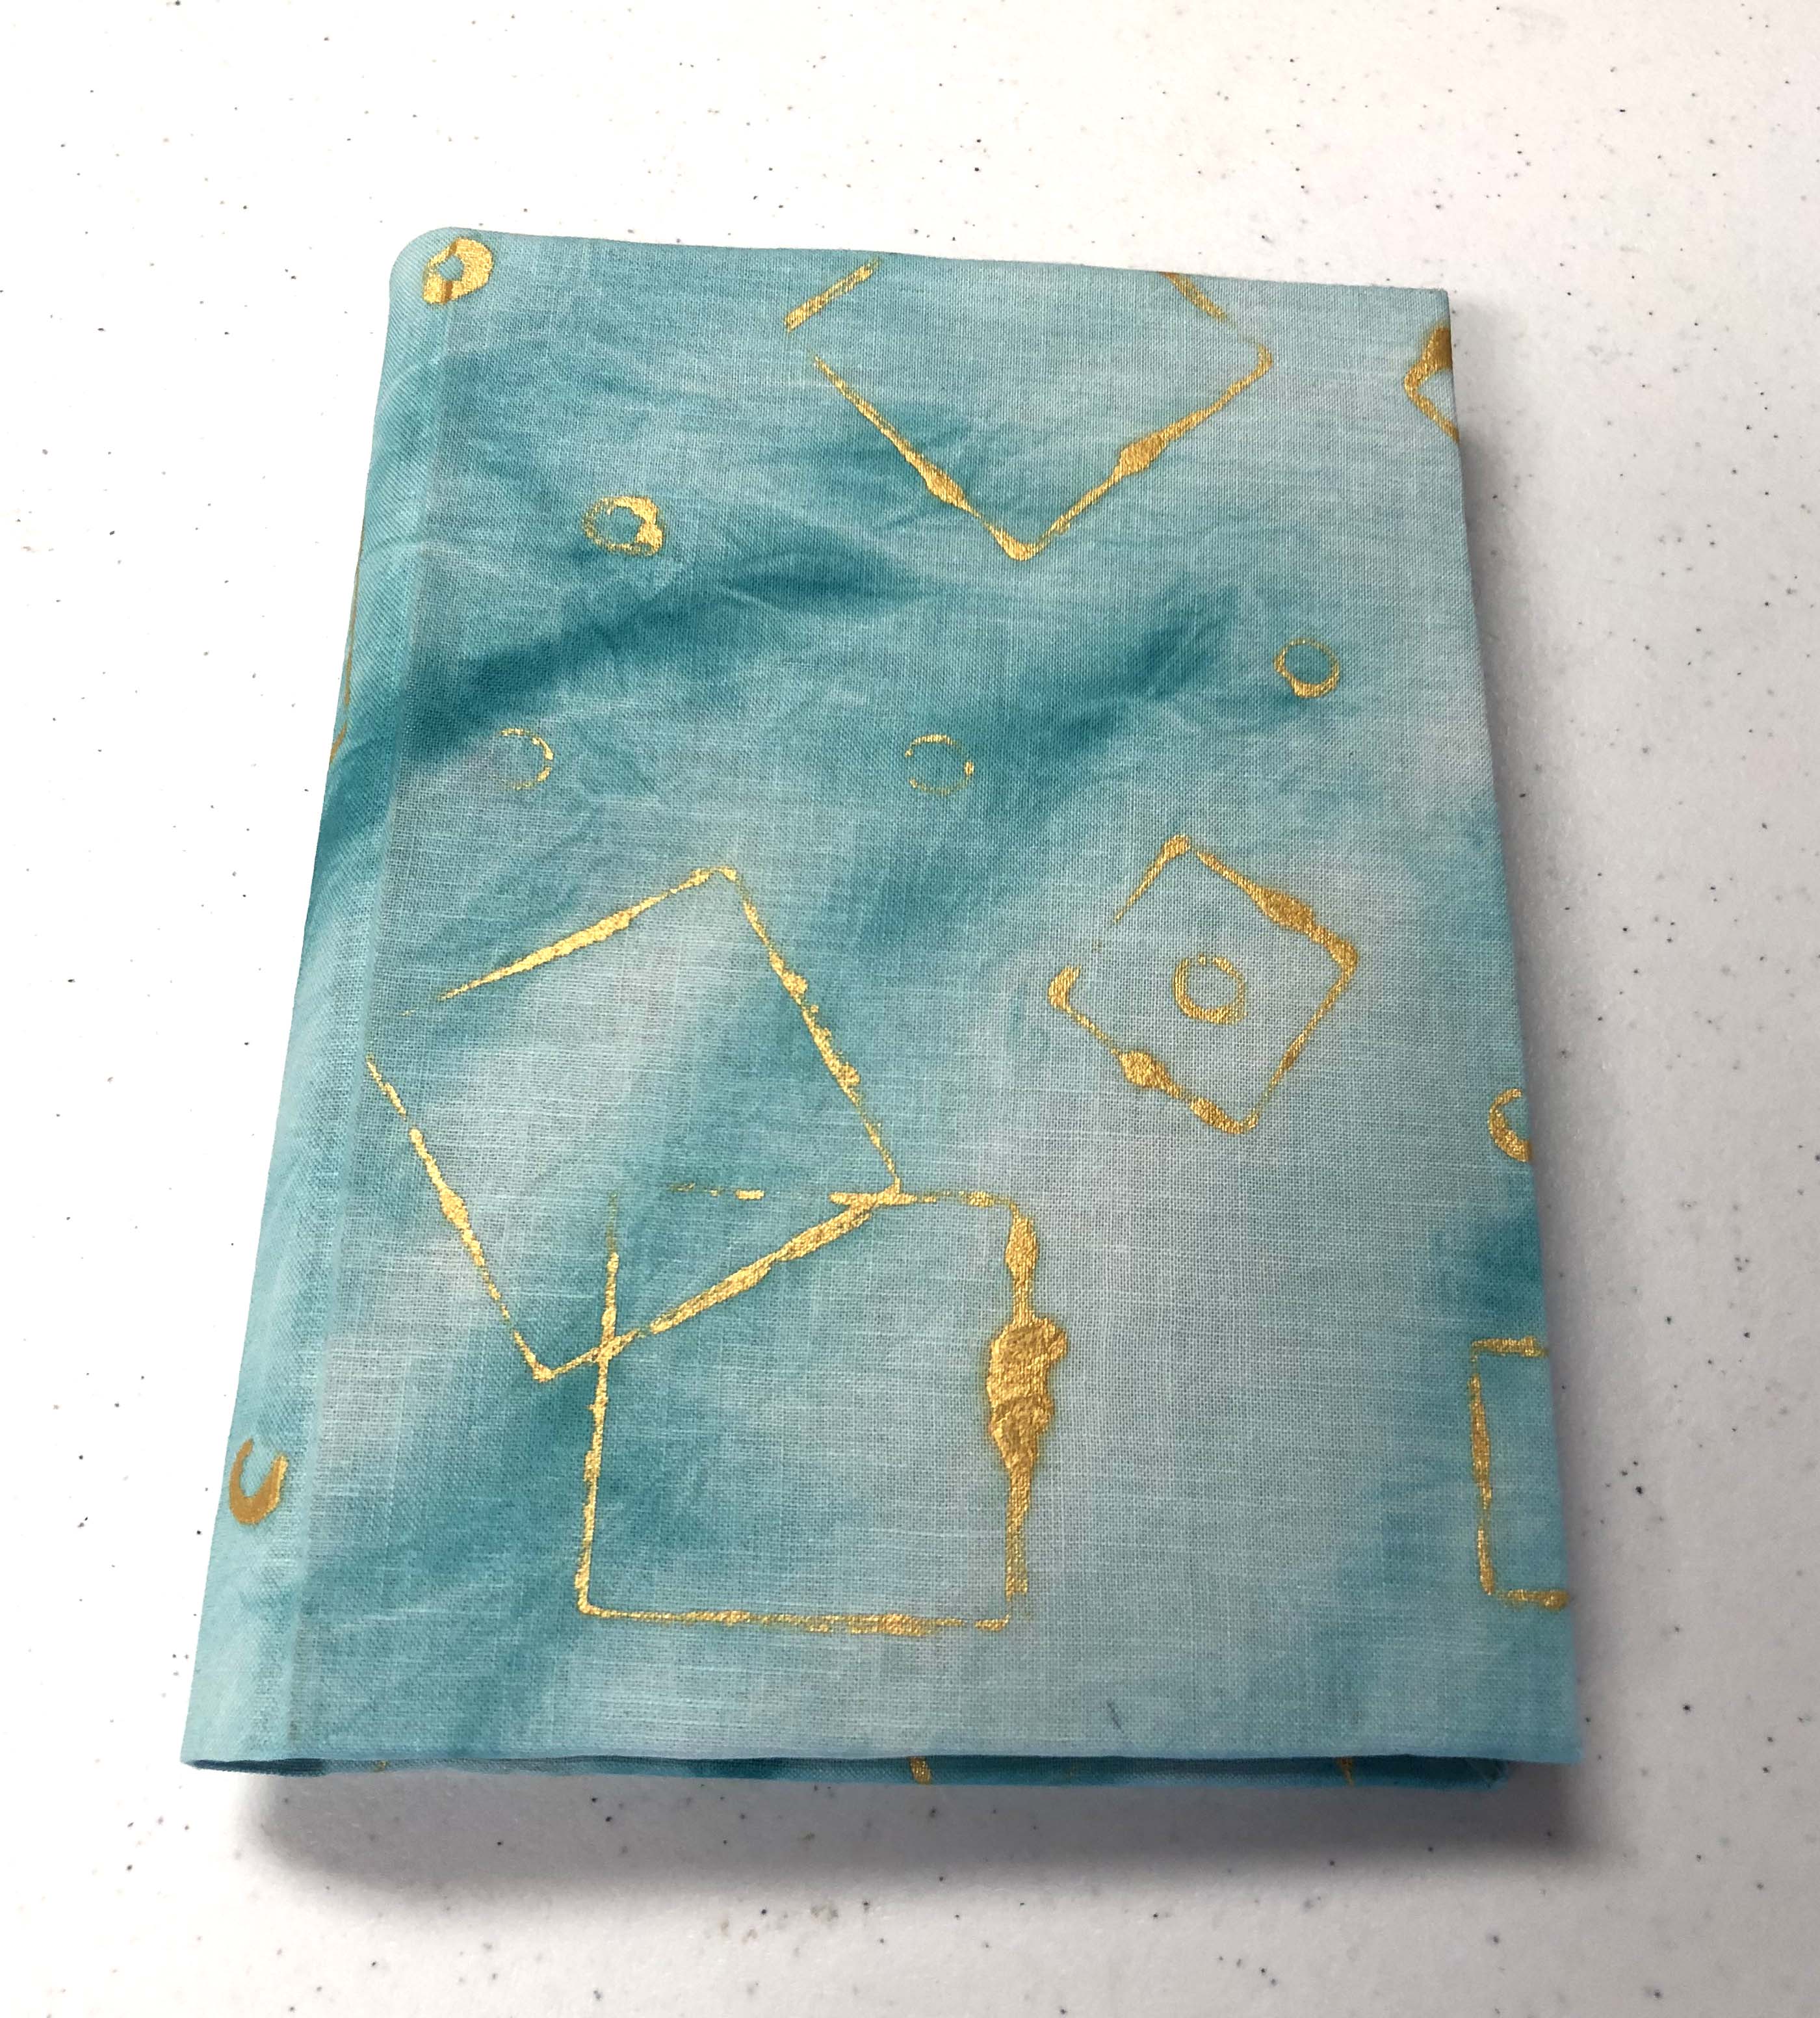
Another thing that Lynn loves to do is painting fabric. You may not know, but I invited her to share some of her ideas in my book Cartonnage Basics & Beyond. She demonstrates how to have fun painting fabric in Chapter 08. So, here is another piece of fabric she is preparing to make one journal cover. She started with commercial fabric and also she painted part of another commercial fabric and over that, she applied vinyl that she cut in her ScanNCut using one picture of her granddaughter and friends as the beginning of the fun! What an amazing handmade gift she is preparing for her granddaughter, right? (Note: look for the links for the materials and more information at the end of this post)

Stencils are a great addition to embellish fabrics. There are so many commercial stencils available in stores, but sometimes we just can’t find the right size, or the right shape… the Scan NCut can help a lot here! We can simply start with the image we want, and cut it in the plastic sheets using the machine. Then, we gonna have our stencils. Or, we can scan a picture we have, or even one stencil that we have and want to have it bigger, or smaller…let me show what Lynn made with this idea.
So, she loves the stencil she has (yellow), but the dragonfly was too big to add to a flower she had painted on the fabric. Then, she outlined the image of the stencil she wanted to reduce, then scanned in her machine, and then, cut to the size she wanted. After that, she was ready to apply to her fabric journal cover. Look at the process: the yellow is the commercial one. On the left is the outline she scanned in her machine (using the mat showed below). And also the images she cut in plastic sheets for her stencils.


Here are the journal cover using hand painted fabric adding the stencil details.

Playing with fabric and stencils is so fun! You can see much more samples in my book Cartonnage basics & beyond. Two of the projects we made for the book are boxes with the fabric we painted and used stencils on it, the process is very well detailed in my book.


Lynn loves journals, so, she made one to match her fabric bag. And she wasn’t happy with the simple cover, so, she decided to personalize it with her name. Look what she made cutting stencils in her machine.

Here is the back of the cover, as it was in the front before the stencils……

And here, her final fabric journal personalized!

For this fall she promises to make a special journal using stencils that she cuts from real leaves…isn’t that unique? So, here is the process. She will gather leaves, place on scanning mat and scan directly into the machine (Scan to cut). Once saved in machine, she will be able to change size & cut stencils for a variety of projects. Using solid black fabric, she will use a bleach solution to remove only the color she wants to remove with the help of a stencil to modify the fabric around the leaves, producing a shadow. After stopping the process, she will cut the same leaf shapes in fabric and then, sew raw edge applique over the other fabric….. take a look at her quilt sample….the same process can be used for personalizing fabric before making journal covers or boxes. Learning to color or de-color fabric gives a whole new range of possibility, right?

What else we can do with the ScanNCut to personalize Cartonnage fabric boxes and cases? Well, that’s is just the beginning… from here, we can let our inner child play and personalize as much as our creativity will allow us! Cutting fabric and applying to the covers, lids of boxes...... and much more. I will be trying some different things and will be sharing with you! Lynn is an expert in the Brother ScanNCut machine and she has one Facebook group that you can join and be in contact, ask questions, share projects. Also we have my Facebook group Cartonnage fabric boxes where we can be in contact and improve our projects! So, join us and let’s continue the conversation inside our groups.
If you are new to ScanNCut you can learn the simple steps to run your machine, scan the images, cut stencils, vinyl watching to some videos, you can ask questions to Lynn in her Facebook group, you can go to the store you bought the machine and take basic classes….. do whatever is more beneficial to you, but enjoy your machine, use it, have fun, personalize amazing gifts! And please share with us what you will be making!
Last, but not least, Lynn has created one organizer to keep all tools, mats, materials to work on the ScanNCut well organized and hanging near to the work station, so, you will not waste your time searching for materials. I have seen this and it is one amazing and functional organizer. She is now selling the pattern in her Etsy shop, so, if you want to make yours, go ahead and order yours, it will be another fun project to make and use!


I hope you have liked this idea! Have fun and keep in touch!
Claudia and Lynn!
Important links:
Plastic sheets to make stencils: https://www.amazon.com/Grafix-Clear-Plastic-Thickness-12-Inch/dp/B001K7Q6Z0 (If this does not open, simply type Amazon Grafix Plastic .07 in your favorite search engine and it will open)
Vinyl (HTV – heat transfer vinyl): For USA https://www.651vinyl.com or https://www.mikriworldllc.com/
Lynn’s SNC Indiana Facebook: https://www.facebook.com/groups/ScanNCutIndiana/
Lynn Etsy Shop: https://www.etsy.com/shop/TANGLEDTHREADSBYLYNN
Cartonnage book: https://www.colorwayarts.com/cartonnagebook
DIY kits for cartonnage: www.colorwayarts.com
Handmade gifts are such a lovely idea, people usually give more value to gifts that were made specially for them than for something that was just bought in the stores….at least I’m like that, and if you are a crafter, chances are that you are with me, right?
Ok, then, using commercial fabrics is a good idea, it’s simple, it’s quick, it’s done, and there are so many beautiful ones out there…. But what if we want to have even more fun and personalize the fabric or the final piece with some special details? It’s even better!! So, today, I’m gonna share with you a few ideas that my friend Lynn Hodge from Tangle threads by Lynn, have been making using her Scan N Cut machine. I hope you like it, and let’s keep this as just a start of one conversation that have no end….because the possibilities go far from our daily imagination….and as Lynn always like to say….there is no right or wrong here, there is our inner child having fun and making amazing arts!
Ok, then, let’s start from the beginning. Let’s say you made one fabric journal (or box), with a commercial fabric and later, decided that was simple and you could add one detail made out of iron-on vinyl that you can cut in your Scan N Cut machine (let me explain that: Lynn is an expert in this brand, but there are other brands that can work as well…..).
Here is the fabric journal Lynn made, using my DIY kit 101, and then after she applied the vinyl she cut in her Scan N Cut, look how a simple detail can make all difference:
Another thing that Lynn loves to do is painting fabric. You may not know, but I invited her to share some of her ideas in my book Cartonnage Basics & Beyond. She demonstrates how to have fun painting fabric in Chapter 08. So, here is another piece of fabric she is preparing to make one journal cover. She started with commercial fabric and also she painted part of another commercial fabric and over that, she applied vinyl that she cut in her ScanNCut using one picture of her granddaughter and friends as the beginning of the fun! What an amazing handmade gift she is preparing for her granddaughter, right? (Note: look for the links for the materials and more information at the end of this post)
Stencils are a great addition to embellish fabrics. There are so many commercial stencils available in stores, but sometimes we just can’t find the right size, or the right shape… the Scan NCut can help a lot here! We can simply start with the image we want, and cut it in the plastic sheets using the machine. Then, we gonna have our stencils. Or, we can scan a picture we have, or even one stencil that we have and want to have it bigger, or smaller…let me show what Lynn made with this idea.
So, she loves the stencil she has (yellow), but the dragonfly was too big to add to a flower she had painted on the fabric. Then, she outlined the image of the stencil she wanted to reduce, then scanned in her machine, and then, cut to the size she wanted. After that, she was ready to apply to her fabric journal cover. Look at the process: the yellow is the commercial one. On the left is the outline she scanned in her machine (using the mat showed below). And also the images she cut in plastic sheets for her stencils.
Here are the journal cover using hand painted fabric adding the stencil details.
Playing with fabric and stencils is so fun! You can see much more samples in my book Cartonnage basics & beyond. Two of the projects we made for the book are boxes with the fabric we painted and used stencils on it, the process is very well detailed in my book.
Lynn loves journals, so, she made one to match her fabric bag. And she wasn’t happy with the simple cover, so, she decided to personalize it with her name. Look what she made cutting stencils in her machine.
Here is the back of the cover, as it was in the front before the stencils……
And here, her final fabric journal personalized!
For this fall she promises to make a special journal using stencils that she cuts from real leaves…isn’t that unique? So, here is the process. She will gather leaves, place on scanning mat and scan directly into the machine (Scan to cut). Once saved in machine, she will be able to change size & cut stencils for a variety of projects. Using solid black fabric, she will use a bleach solution to remove only the color she wants to remove with the help of a stencil to modify the fabric around the leaves, producing a shadow. After stopping the process, she will cut the same leaf shapes in fabric and then, sew raw edge applique over the other fabric….. take a look at her quilt sample….the same process can be used for personalizing fabric before making journal covers or boxes. Learning to color or de-color fabric gives a whole new range of possibility, right?
What else we can do with the ScanNCut to personalize Cartonnage fabric boxes and cases? Well, that’s is just the beginning… from here, we can let our inner child play and personalize as much as our creativity will allow us! Cutting fabric and applying to the covers, lids of boxes...... and much more. I will be trying some different things and will be sharing with you! Lynn is an expert in the Brother ScanNCut machine and she has one Facebook group that you can join and be in contact, ask questions, share projects. Also we have my Facebook group Cartonnage fabric boxes where we can be in contact and improve our projects! So, join us and let’s continue the conversation inside our groups.
If you are new to ScanNCut you can learn the simple steps to run your machine, scan the images, cut stencils, vinyl watching to some videos, you can ask questions to Lynn in her Facebook group, you can go to the store you bought the machine and take basic classes….. do whatever is more beneficial to you, but enjoy your machine, use it, have fun, personalize amazing gifts! And please share with us what you will be making!
Last, but not least, Lynn has created one organizer to keep all tools, mats, materials to work on the ScanNCut well organized and hanging near to the work station, so, you will not waste your time searching for materials. I have seen this and it is one amazing and functional organizer. She is now selling the pattern in her Etsy shop, so, if you want to make yours, go ahead and order yours, it will be another fun project to make and use!
I hope you have liked this idea! Have fun and keep in touch!
Claudia and Lynn!
Important links:
Plastic sheets to make stencils: https://www.amazon.com/Grafix-Clear-Plastic-Thickness-12-Inch/dp/B001K7Q6Z0 (If this does not open, simply type Amazon Grafix Plastic .07 in your favorite search engine and it will open)
Vinyl (HTV – heat transfer vinyl): For USA https://www.651vinyl.com or https://www.mikriworldllc.com/
Lynn’s SNC Indiana Facebook: https://www.facebook.com/groups/ScanNCutIndiana/
Lynn Etsy Shop: https://www.etsy.com/shop/TANGLEDTHREADSBYLYNN
Cartonnage book: https://www.colorwayarts.com/cartonnagebook
DIY kits for cartonnage: www.colorwayarts.com