I really love making unique cartonnage fabric boxes and cases and teach cartonnage! Designing a new piece is always challenge……… and I decided to share with you a little bit of my work when starting a new project! If you look at my DIY kits or make a piece in a class with me, you may not realize what was the process behind the scenes….. so, I invite you to check it out how I have designed my treasure box. Actually when I made it for the first time, it was small, and I called “index card box”, then, after that I decided to make it bigger and added dividers and so that’s today my treasure box.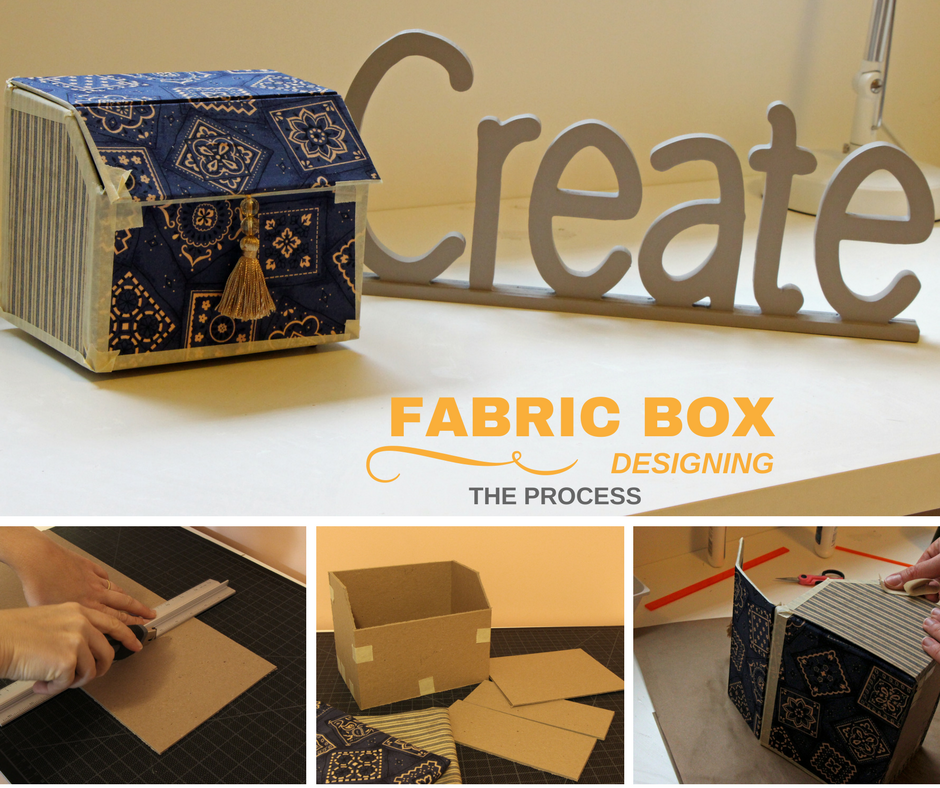
The ideas for my projects come in a variety of forms….. pictures, internet, friends, my teacher, my students ideas…… well….. since I have one first idea of what I want to make, then, I have to make some math, make some notes, try to figure out the details of the project (I have to confess that I am not very organized in this part! My notes from this step is always kind of mess….I am trying to get better in this)
Then, I have to cut the paper (chipboard, poster board and sometimes kraft paper). When I am designing a piece, I always cut the paper myself, by hand. (You may have heard from me that for my DIY kits I pay for a company that cuts all for me, because it’s better for me and for the quality of my kits.) To cut the paper, I use my mat cutter when possible, and sometimes I cut using a craft knife specially for small pieces and round ones (my cutter isn’t good for this). If needed, then I have to sand as well, like in the picture below when I was designing another project.

 With all pieces cut, I like to try some parts once, without fabric, just for checking the dimensions. Sometimes, at this point, I need to go back to my project and rethink, change dimensions…..cut other pieces of paper…….When I see it ‘s all right, then it’s time to cover the pieces with fabric and start making the project. Below you can see some parts of this process.


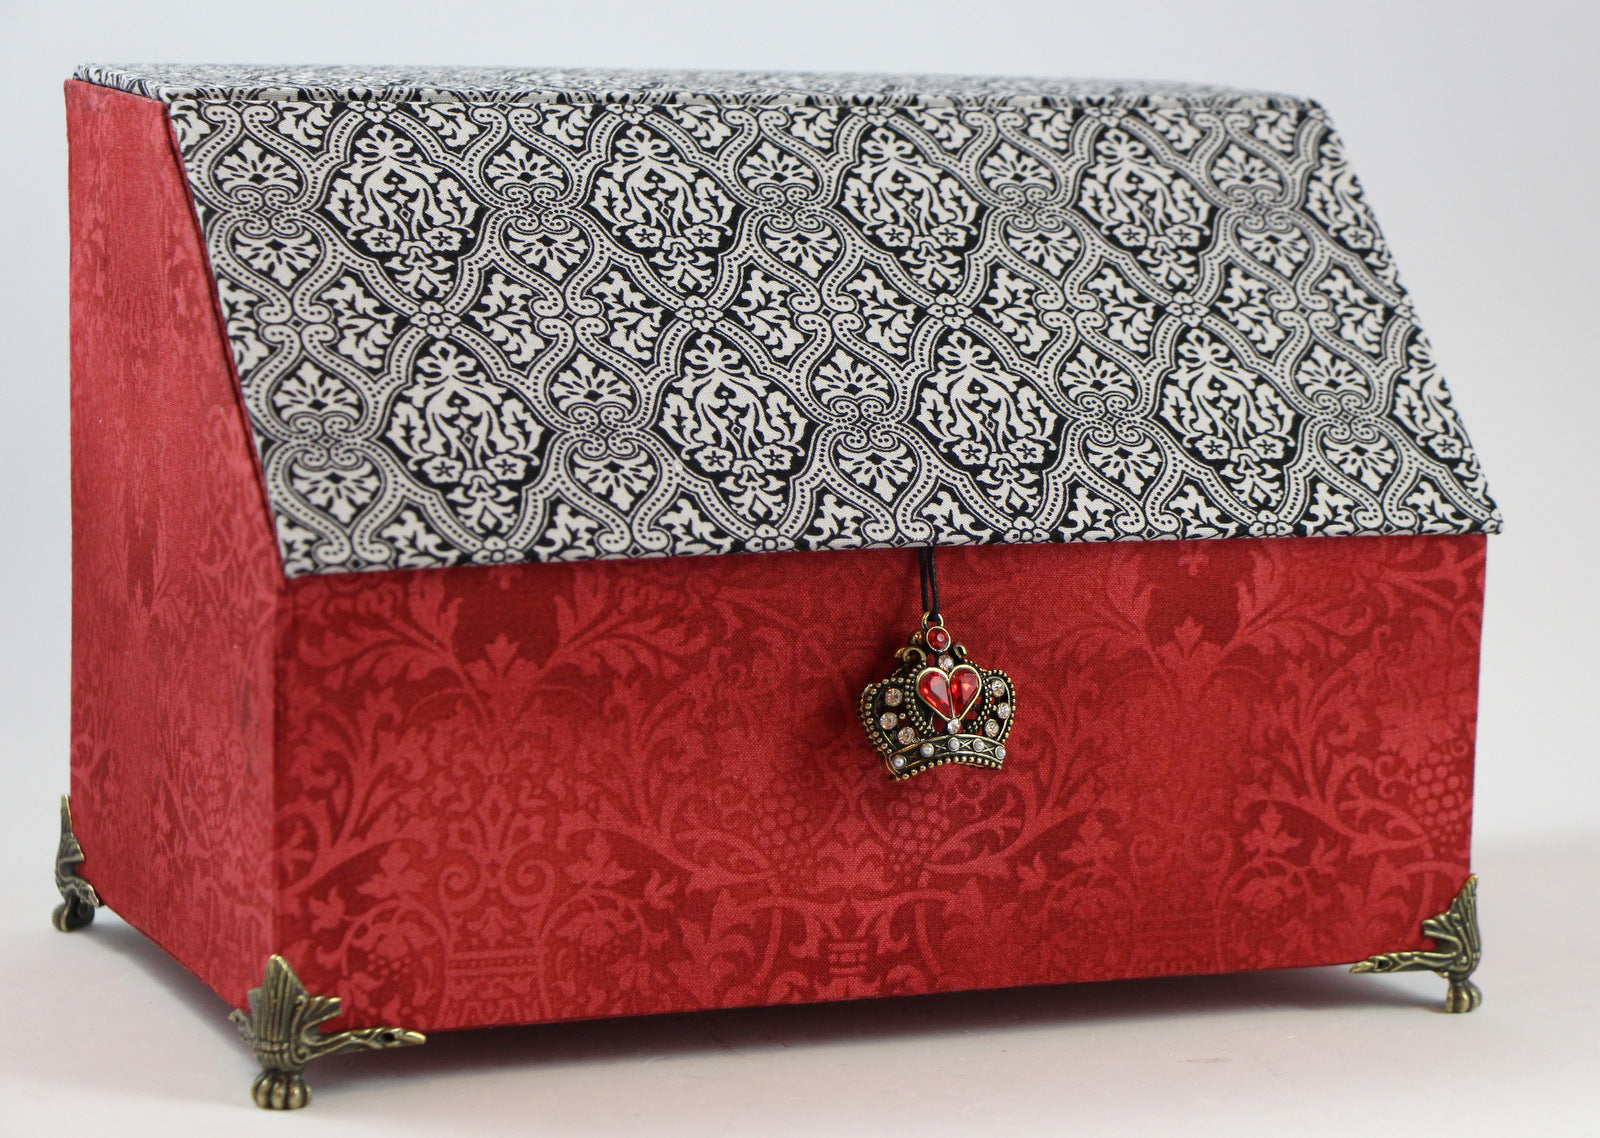
 It was almost done, and I decided to add some metal feet to the box. It was a good idea!
So, here is that box ready! The masking tape is part of the process and it is also removed later.

Oopsss......and, guess what! When I finished, I noticed that I have done something wrong on my project and the box didn’t close well!
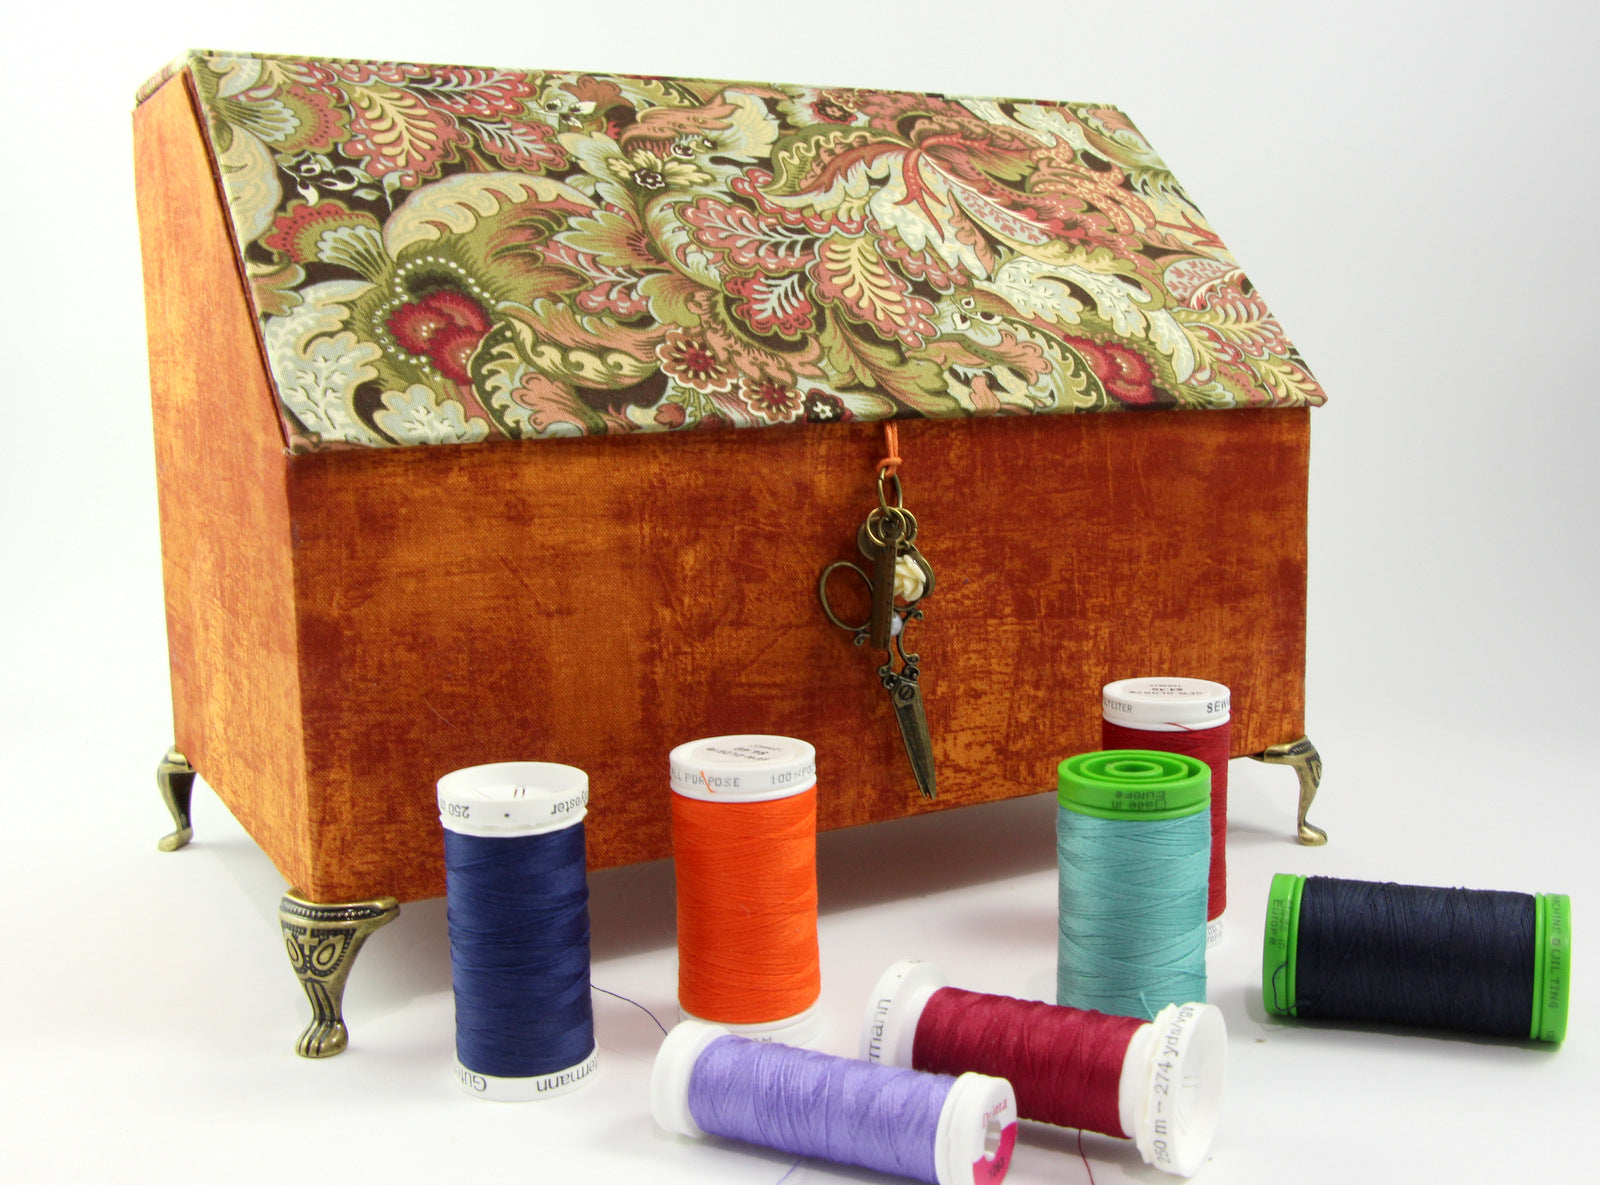
And that’s part of this process of designing...... making mistakes and then learning from them….. For the next box, I changed what I needed to change and the box was perfect! It was the dimension of my treasure box now and it closes perfectly! Here is the first official "treasure box" I made:
After that, it was time to make the tests for having the DIY kits and offer classes. After drawing the project, the pieces were cut and I made one to make sure it was all right, because pieces of paper for a cartonnage box can be like a puzzle….and all needs to fit perfectly for a great project!
When I approve the project, then I can have all the pieces cut, and then I will clean all them up, stamp, put together as a kit.
But, my kits and classes have instructions, and this is another fun part of the process that I love. For each project I make I take lots of pictures for the instructions. For the treasure box, for example, I took over 400 pictures, I work on them and the final instruction has over 200 pictures! So, for sure, no steps missing, no computer drawings.....real pictures! I do work with so much care to have the best instruction I can, so everyone, even those who didn’t have in-person classes with me will be able to make any of my boxes and cases!
Here are the DIY kit and the first pages of the "treasure box" instruction:

I really love all this process, but I have to confess that cutting the paper isn’t my favorite part! Cutting chipboard can be hard and not fun! That’s why I decided to offer the DIY kits with all pieces of paper already cut in the dimensions you need for each project and this way you can have fun choosing your fabrics and having fun with the best of cartonnage. My goal is to continue creating my boxes the best I can and offer kits for my classes and for everyone that wants to make unique pieces not sold in stores and having the best experience with cartonnage ever!
You will find a great selection of DIY kits in my shop.
I hope you have enjoyed my creation process! To finish this post, I want to show you some of the "Treasure boxes" I made so far!


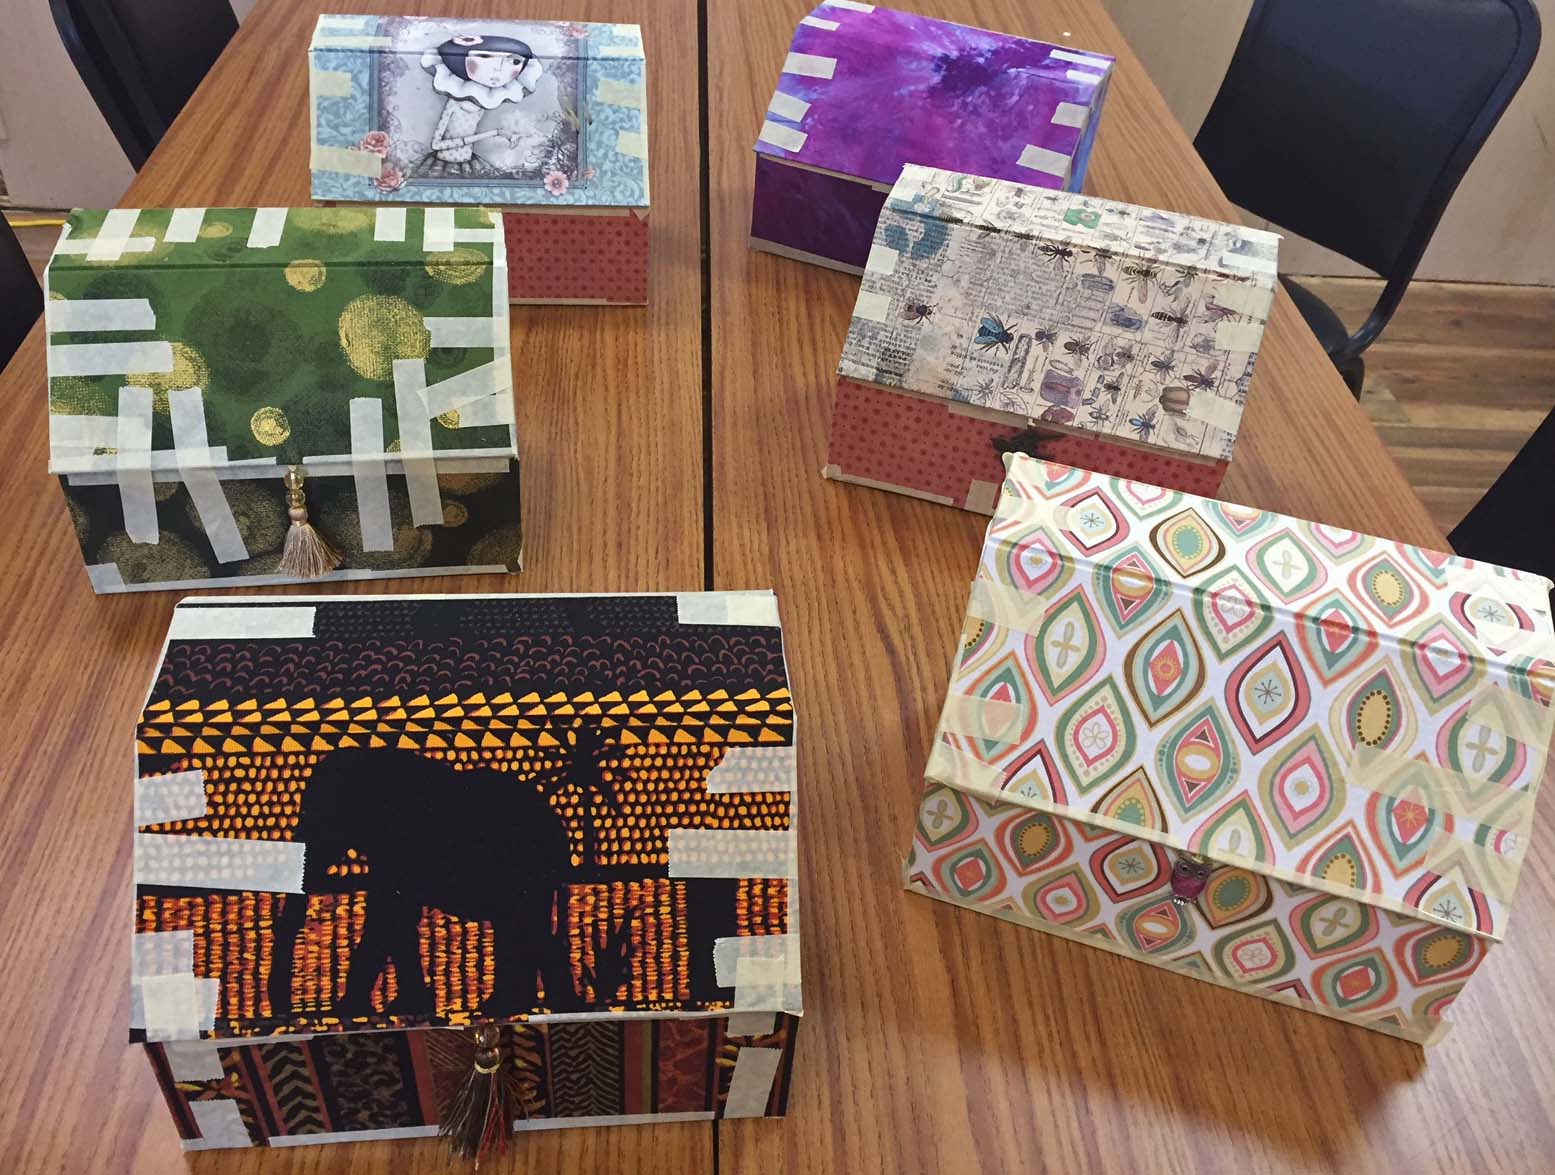
 And also, some of the Treasure boxes made by my students (from in-person and online classes):


Have a great day! Find some art to have fun!! Check my website for more inspiration.
Claudia