Let’s make a fabric box with no sewing?
If you are wondering how you can have fun with your fabrics, making fabric boxes without sewing, CARTONNAGE is your answer! Yes, cartonnage is a traditional technique, or, the “art of box making” that has started in France, ages ago, and this art of gluing fabric instead of sewing has been revived around the world in recent years. Not only French fabric lovers are making wonderful boxes, but fabric lovers from a lot of Countries are discovering how fun is covering pieces of cardboard with fabric, then, putting them together building all sort of projects, from simple boxes to more advanced ones.

Only boxes? No, definitely not. Cartonnage is a very versatile technique, because if we cut the cardboard in different sizes and shapes we can make lot’s of different projects, like sewing kits, notebook covers, notepad covers, calendars, and much much more…..

Let me introduce myself, I’m Claudia Squio and I live in Michigan with my lovely family, my husband and our two kids. I have always loved fabric, crafts and colors….. I have tried a lot of crafts, made so many different things, from knitting, to painting and sewing. But I was never very good at sewing, I don’t know, it’s just me that may don’t have enough patience or coordination to sew straight with good finishing… and I don’t like bad finishing, so, I kept learning and looking for crafts that could give me joy and good finishing….. my search stopped when I discovered cartonnage and made my first journal cover. I had all that I was looking for in one technique. Yes, I combined two fabrics that I loved so much, I didn’t need to sew, the cover was done pretty quick…..and…. with a great finishing! I made several journal covers with different fabrics and that was the beginning of my journey with cartonnage! Then, I decided to see what else I could make using cardboard, fabric and glue and guess what…. Fabric boxes were my next projects…. I was so impressed with the quality of the boxes, the perfect finishing… I have never thought that I could “glue” fabric and have such neat, sturdy and durable boxes.Then, you can imagine how excited I was and started making lots of fabric boxes and covers, and giving them away to friends, to family. As I started making more and more projects, I decided to start teaching this technique and a quilt store was my first choice. That was more than 5 years ago….. since that, I have had so much fun teaching local classes (basically in Indiana and Michigan), I started my craft business ColorWay Arts, I have authored a book about cartonnage and I also have created one online school, where I have thousands of students all around the world. I hope at this point you are already curious to know how we can make a fabric box with no sew…. Then, let’s jump into the technique!
Materials to make cartonnage fabric covered boxes
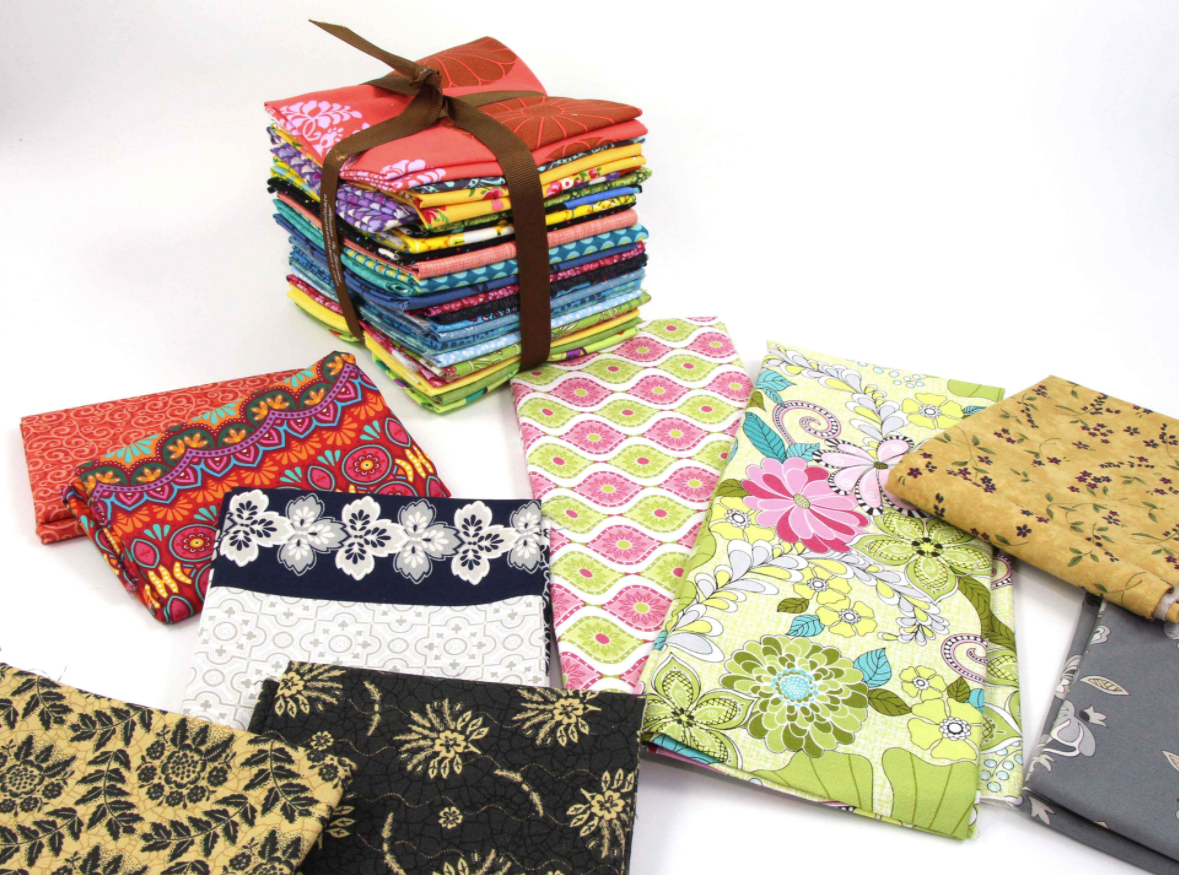
The materials you will need are very simple, and you probably have most of them at home. The main materials are fabric, chipboard, poster board, kraft paper and glue (I use Glue All from Elmer’s). We can make so many beautiful and unique projects using our favorite fat quarters!

Other than that, we will need, a roller paint and a paint brush to apply glue, scissors, cutting mat and rotary cutter. Masking tape is very important! For some projects we need to make holes, then a paper awl or a hole punch are helpful. To cut the cardboard, you can use a heavy kraft knife or some sort of paper cutter.


The most specific materials are a set of acrylic spacers that help us to have the right space between pieces of cardboard when making the covers, and the corner miter tool, what will help us to have always great and standard corners in our projects.


I made a very complete video about chipboard, which one to use and how to cut it. Click here to see the video. Another idea is starting from DIY kits that have all the cardboard precisely pre-cut to make some specific projects. If you are a beginner, I strongly recommend you to start with a DIY kit to feel the Joy of cartonnage without need to worry about cutting thick chipboard. Then, when you have tried one or a few, if you decide to cut your own chipboard, it will be a better journey, as you already know how to make it.


How to make a cartonnage fabric box
Well, here comes the main difference between the traditional French cartonnage and what you will see here. My preferred way of making boxes it’s a variation of the traditional technique that was developed in Brazil some years ago. In the traditional cartonnage the idea is building the box putting the cardboard pieces together and once the box is built, covering with fabric outside and then, inside (or vice-versa). If you are familiar with traditional box making from bookbinding, that’s the way they make their boxes as well. But that’s not my favorite choice. Here you will see how to first cover the pieces of cardboard with fabric and after that, build the box. So, once your box is built, it’s already covered with fabric inside, then, we cover outside. In my personal opinion, this way is easier, quick and also give us a great finishing. Something my students always say when they finish a box, is " how fun to make and professional looking” they are…
So, that said, it’s time to see how to do it. Let's start simple.... the best way!
I will be showing here how to make a simple box with no lid, and then later I will give you more details about how to learn how to make different boxes. If you prefer to see this process in much more details, and keep for your reference later, you can download the FREE eBook clicking here.
Materials:
To make this box, you will need 2 fat quarters (quilt fabric - 100% cotton), Elmer's Glue All, masking tape, a few other simple tools as you will see below, and 5 pieces of chipboard (I use 100 points thick, but 80-90 points it's ok as well). Here are the dimensions you will need to make one box with a finished size of 3 ¾ ” x 3 ¾ ” x 4 ½” (9.5 x 9.5 x 11.5 cm) :
Chipboard:
Piece 01 (base of the box): 3 ½ ” x 3 ½ ” ( 9 x 9 cm)
Pieces 02 (small sides) – 2 pieces: 3 ½ ” x 4 ½” ( 9 x 11.5 cm )
Pieces 03 (sides) – 2 pieces: 3 ¾ ” x 4 ½” ( 9.5 x 11.5 cm )
Poster board (finishing):
Pieces 04 (sides finishing) – 4 pieces: 3 ¾ ” x 4 ½” ( 9.5 x 11.5 cm)
Piece 05 (bottom finishing) : 3 3/4” x 3 ¾” ( 9.5 x 9.5 cm )
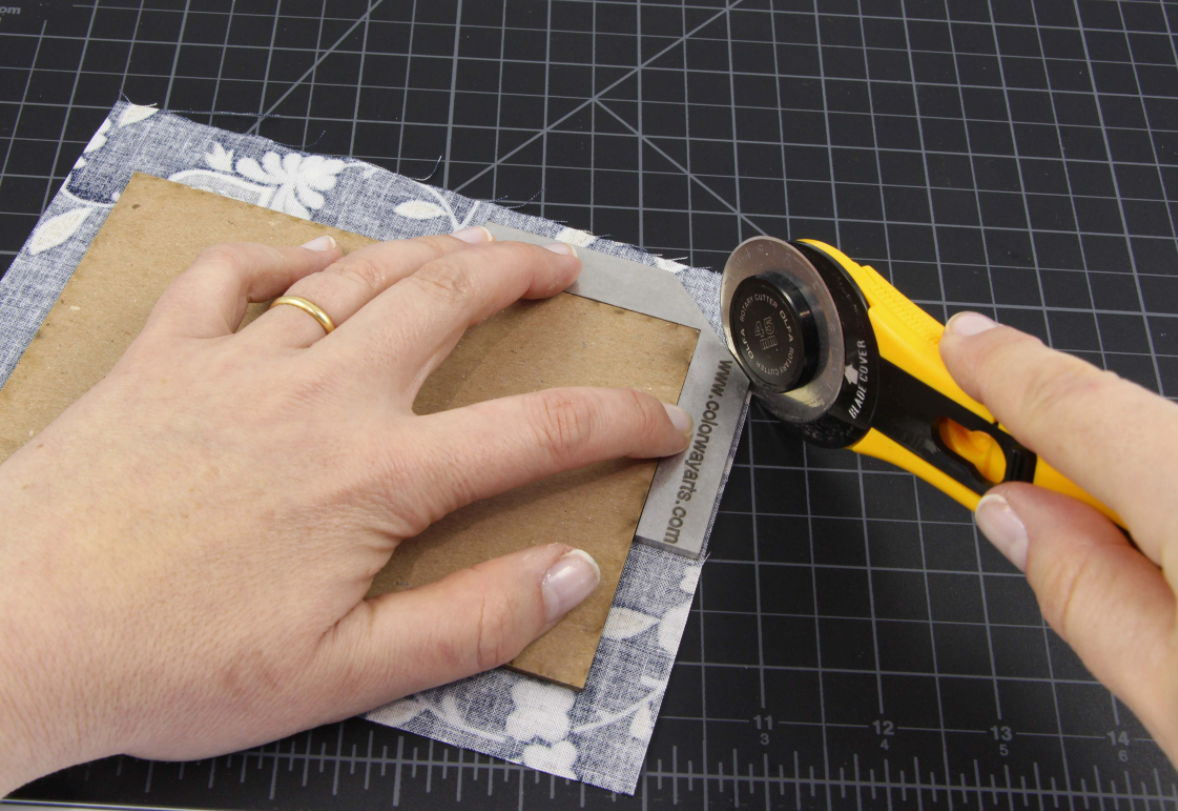
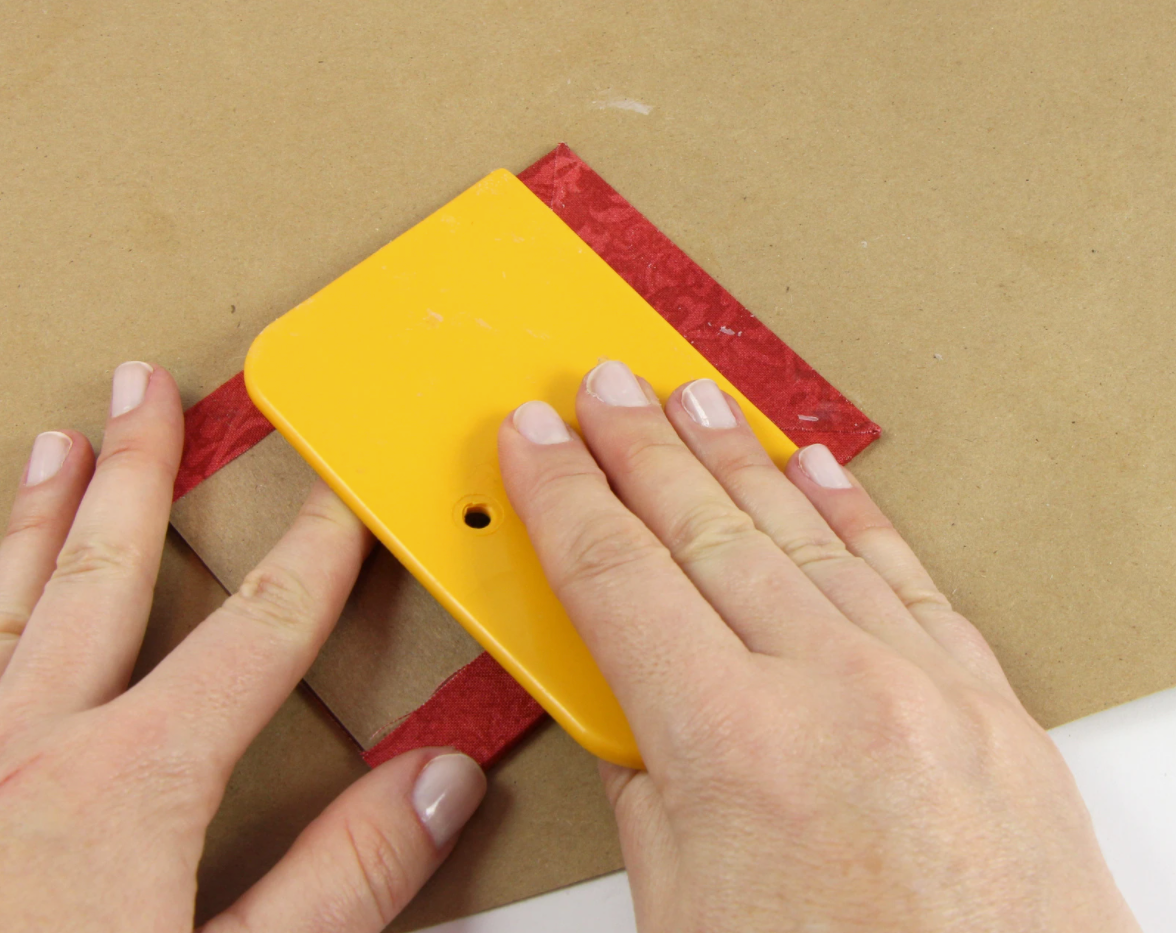
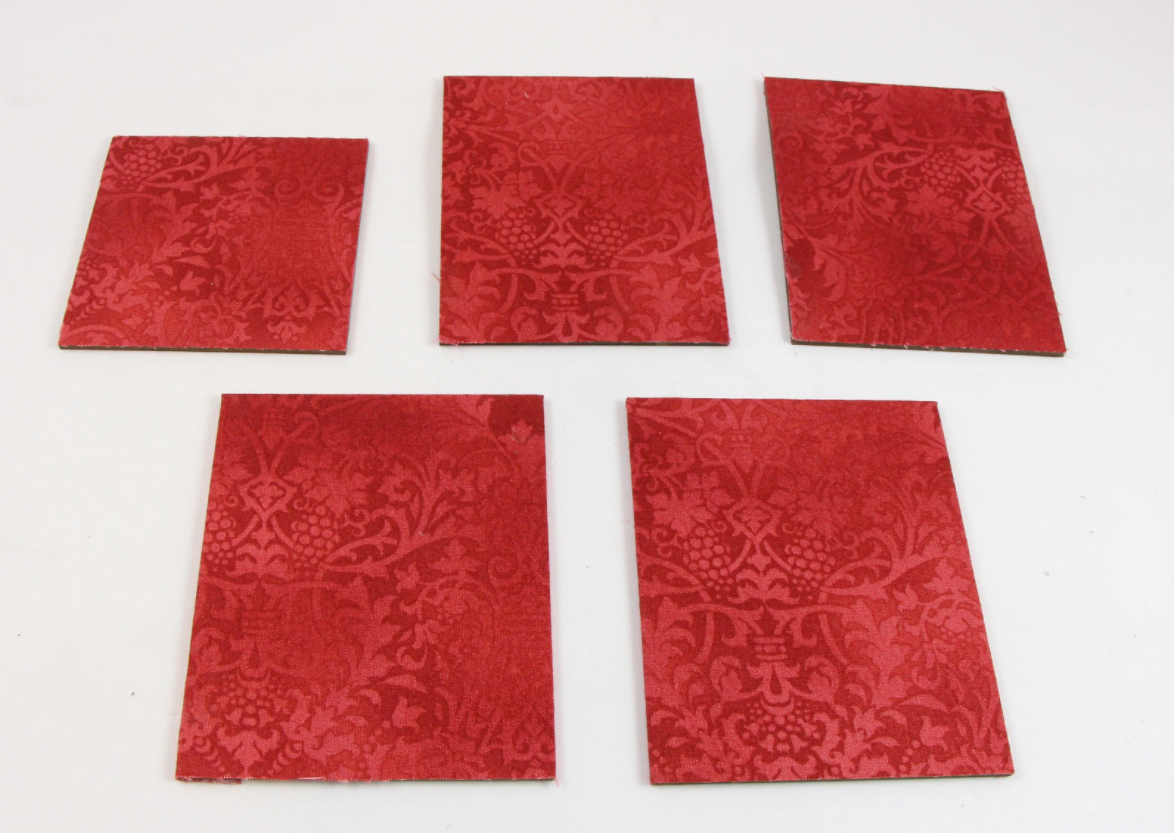
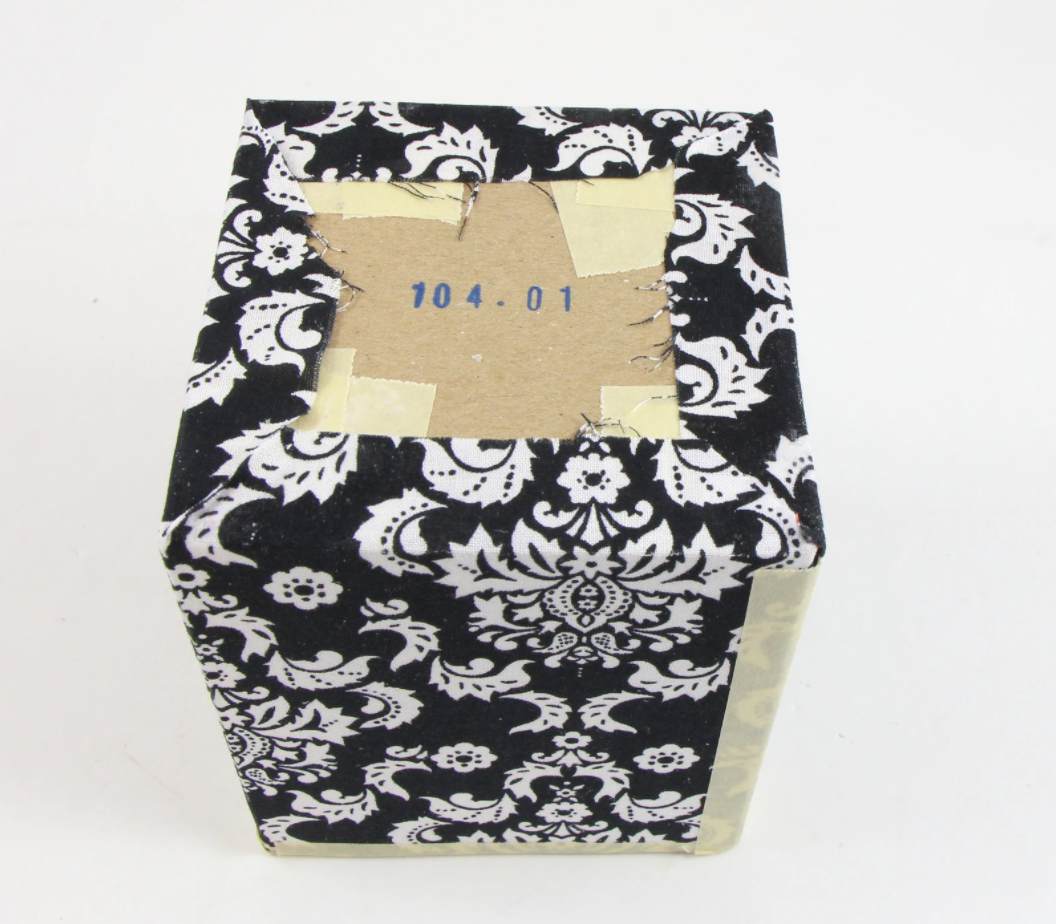
First, we will cut the fabric (for the inside of the box) around 1/2" bigger than each piece of chipboard and glue the fabric on the chipboard pieces:


Now, it’s time to build the box. Start with the small sides and them the other ones. Always apply a little bit of glue and masking tape:


Then, the box, is built and is all covered inside:

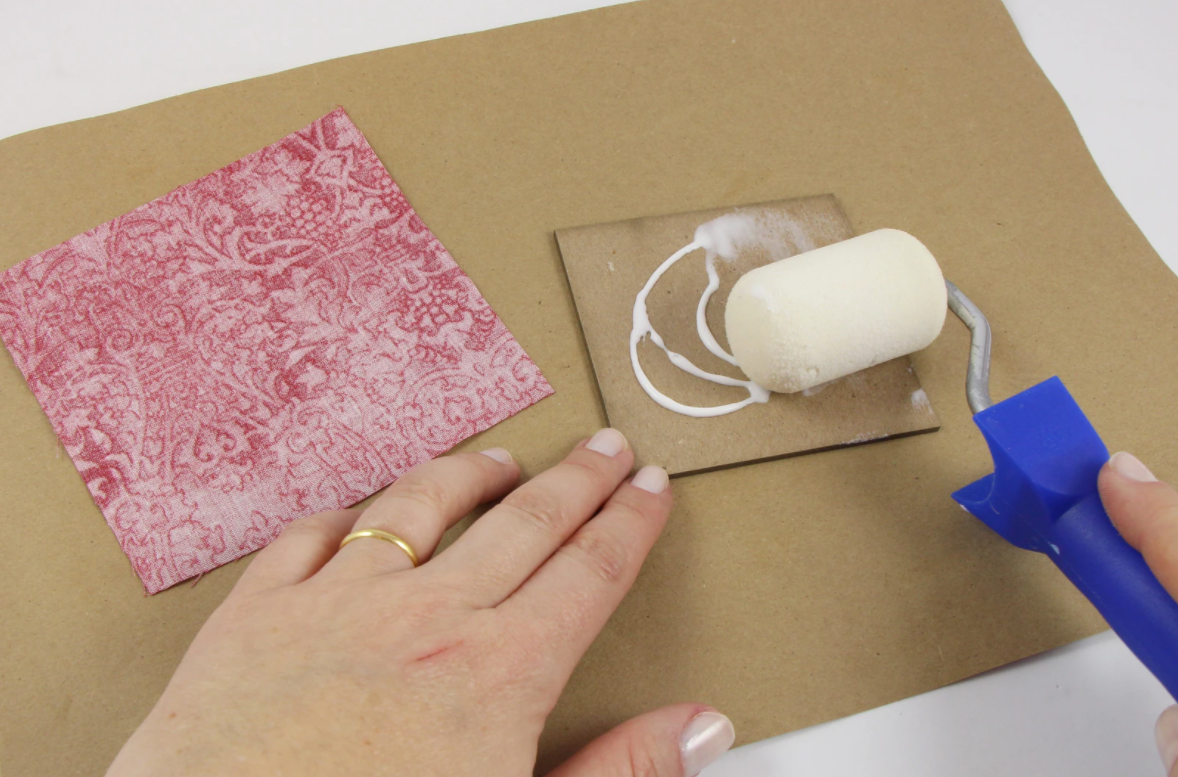
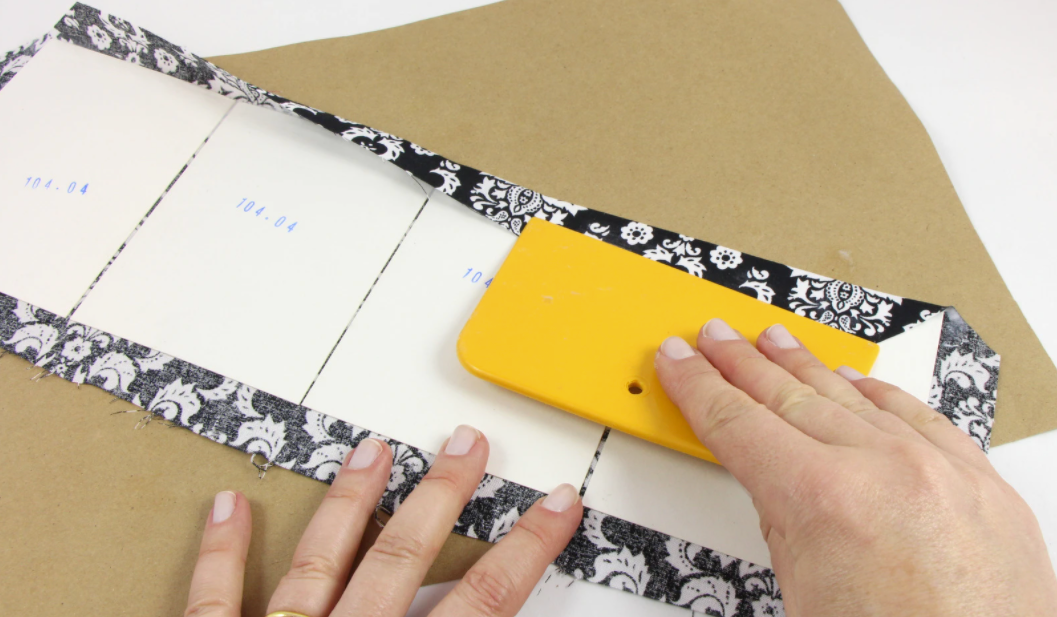
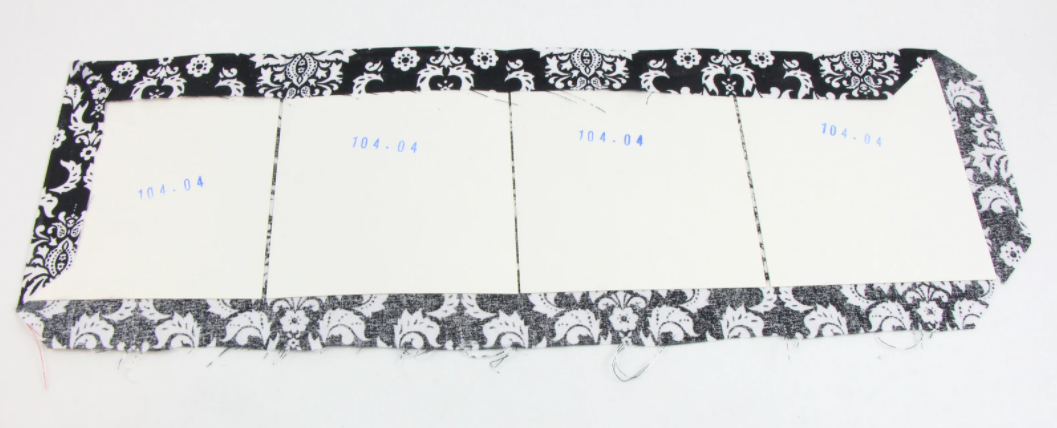
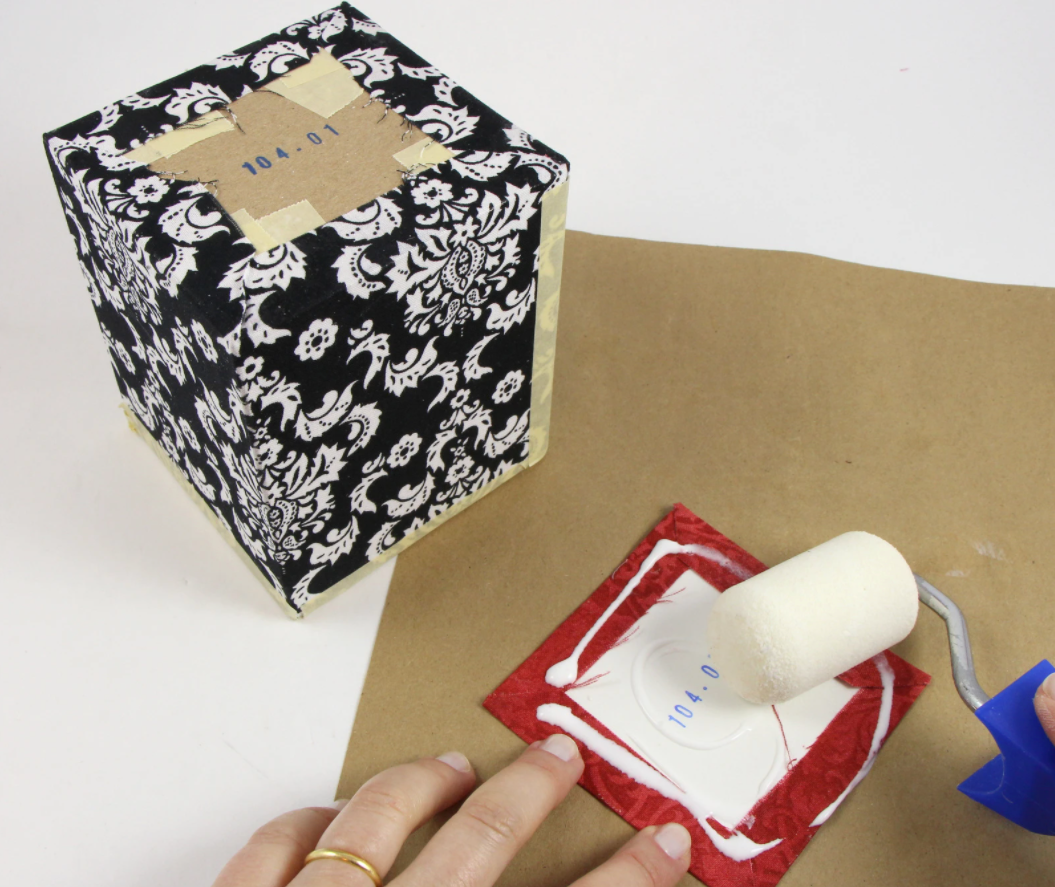
Now that the box is built, and it’s all covered inside, let’s prepare the finishing piece for outside, using the poster board.For that, put the poster board pieces side by side (just a little space in between), cut a piece of fabric you want for the outside, 1/2" bigger all around. Then, glue the poster board pieces on the wrong side of the fabric:


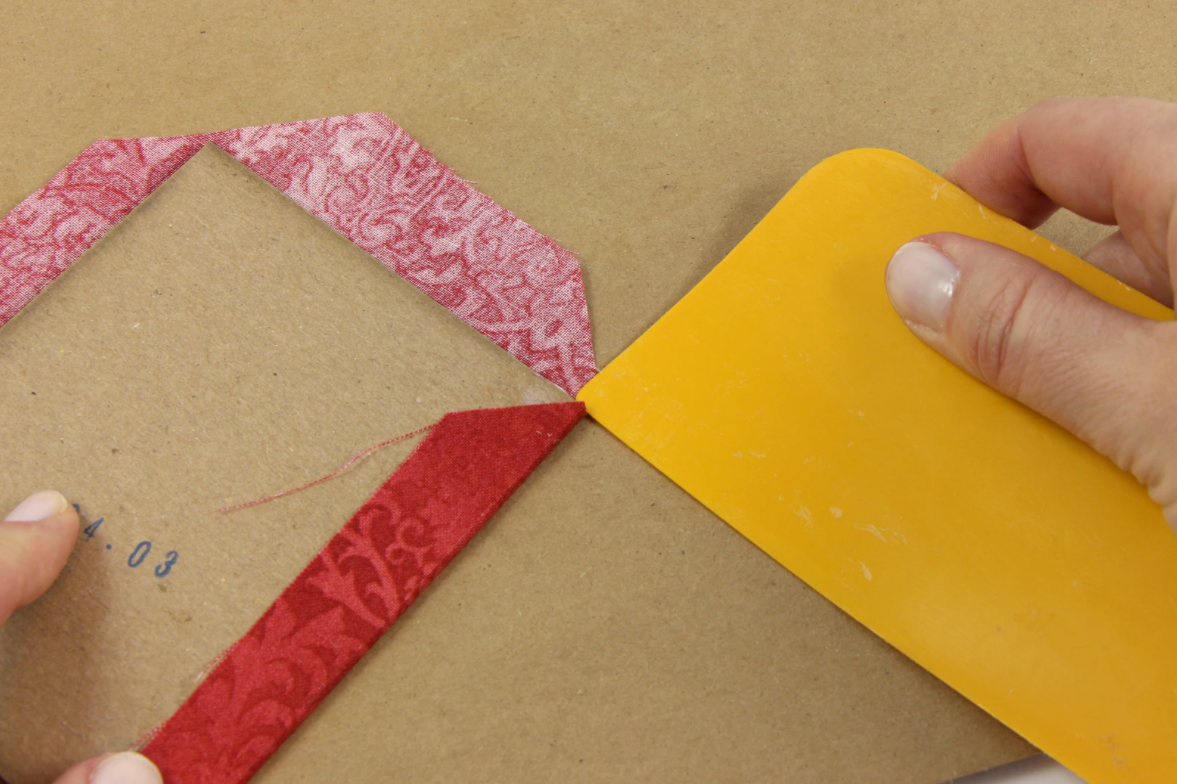
Next, cut the fabric on the four corners and glue the fabric on the top edge and on one side edge:


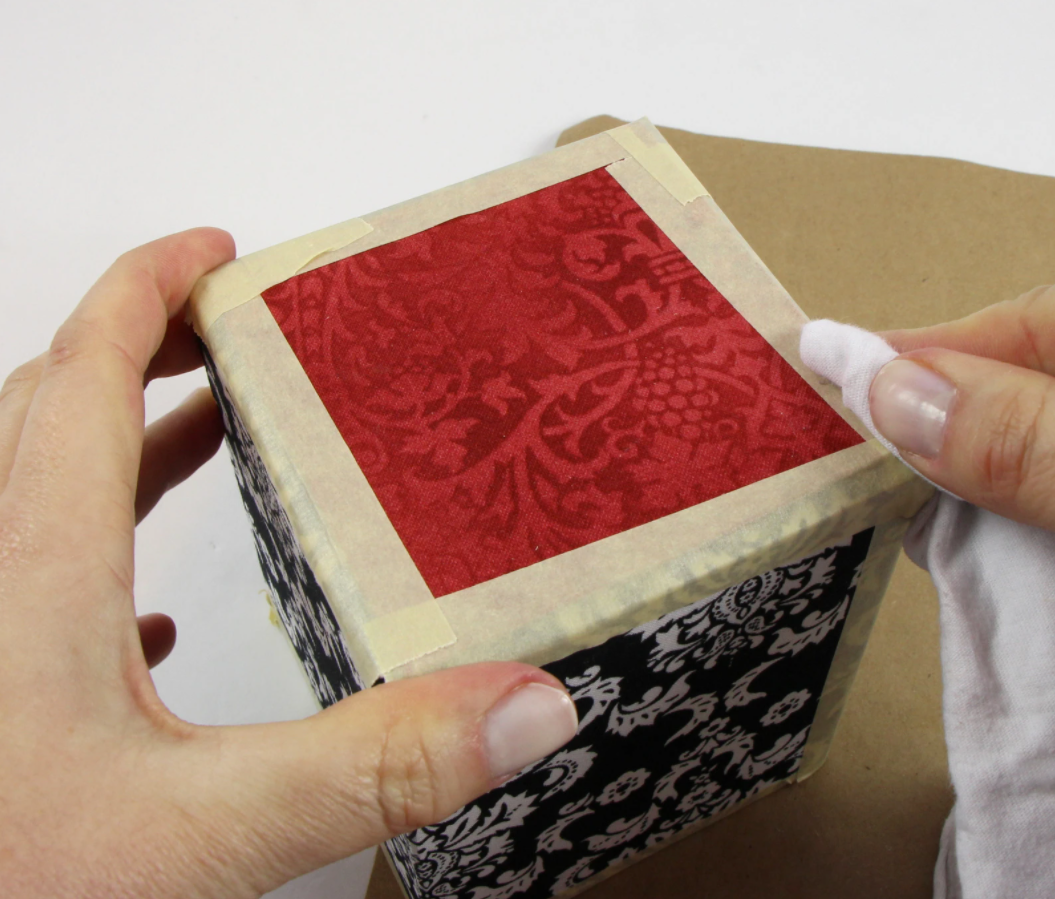
Glue the finishing on the box, part by part, using masking tape after gluing to help stay in place until the glue is dry:


Then, glue the fabric on the bottom, prepare the bottom finishing piece and glue on the bottom of the box, and also add masking tape to secure it temporarily.


That's it! The box it's ready. Keep the masking tape for at least 6 h (I always prefer overnight!), then, remove the masking tape and your box is ready to use! For this kind of box, you can add another piece of chipboard as the bottom of the box, or embellishments, metal feet..... use your creativity!

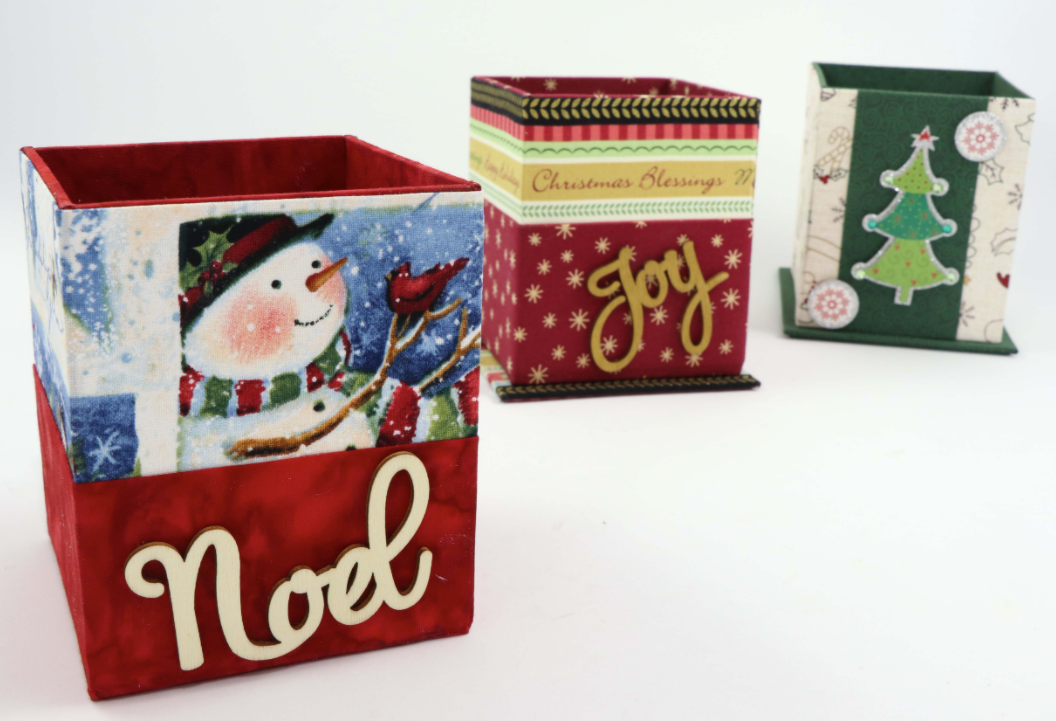
Just a simple box to show you quickly how is the process of box making using cartonnage technique. But it’s just the beginning. From here, we can make any other sizes, add lid (hinged or separate lid), we can add embellishments, add dividers, drawers, handles, closures….well….. there are so many possibilities. Take a look at just a few of the projects you can make using DIY kits available here.

If you like this idea and want to start making fabric boxes, then you can learn from me in different ways. Taking a local class (only a few in a year though), join my online cartonnage school (free courses or becoming a member of the CLUB) or following my book Cartonnage Basics & Beyond – The complete guide for fabric box making. You will find all the information in the website.

About my online courses, what I most love about them, is that they are not a sort of “combo video/tutorial” or a “craftsy or other online class” where you watch the videos and have to keep your questions to yourself. No, my online school is not like that. The Joyful Cartonnage CLUB it's a great family of cartonnage lovers, you will have fun and make the boxes and other projects from the very beginning as if you were right next to me, you can see the videos/tutorial as many times as you want while you keep your subscription. Plus, you will be able to join our private community to be connected with other cartonnage lovers around the world, get closed contact with me so, if you have any question, you will have my support anytime….
I’m always there to hold your hand and help you make the best you can! Oh, when you are a member you also join the Rewards program, with exclusive DIY kits, great discounts and gifts. So, if you want to start making beautiful boxes and other cartonnage projects, having so much fun while making great handmade gifts, check more info about the CLUB clicking here (the registration for the CLUB opens only a few times in a year and if it's not open now, you can join the waitlist to know when it opens again).
I hope you are excited to have fun making boxes, and let me know if you have any questions, suggestions, comments, I will be very glad to hear from you!
Keep positive, stay happy, keep gluing!!
Much love,
Claudia